|
Hi! Today it's bracelet time! This short tutorial will show you how to create three different bracelets using the same technique but different beads. It is really simple and you are to need just a handful of. These bracelets are so easy to make, specially if you choose large seed beads. You can try any combination of colors and styles you like and I encourage you to do so because you are going to have fun with it! I used small seed beads, rondelles and glass beads for these pieces. Let's get started! 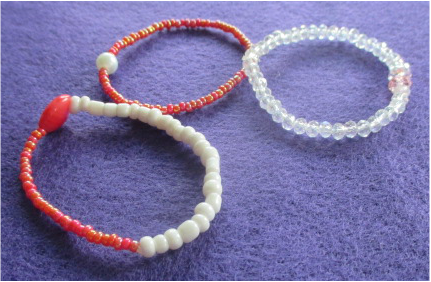
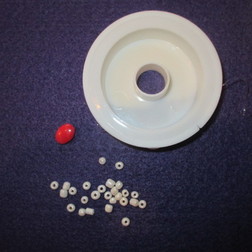
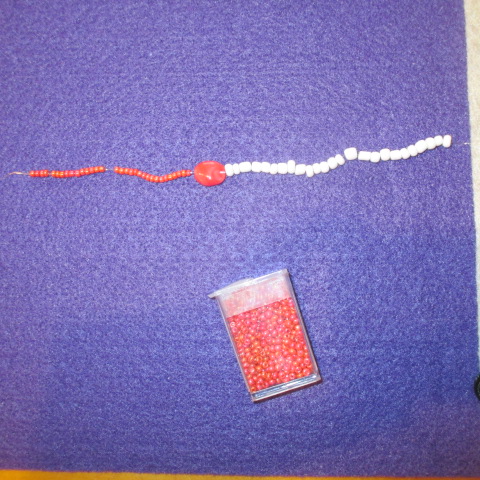
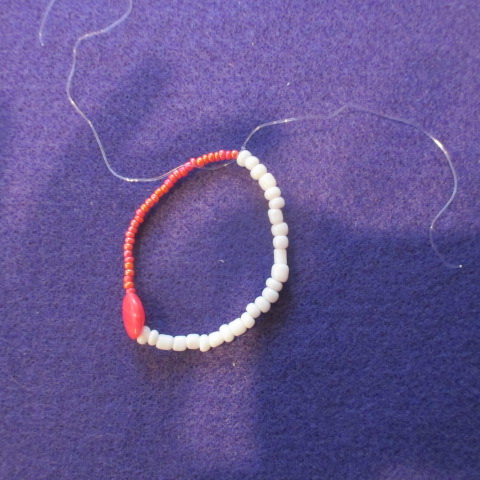
1) Cut a long piece of clear elastic. You want to make sure it is big enough so you can comfortably work with it. 2) Add white seed beads, then the glass bead and finally the red seed beads. 3) Grab both ends of the bracelet and make a double knot. I added one more knot to ensure that the bracelet would not unravel. 4) Add a dab of glue. This will prevent the knot from unraveling. Finished! 5) Trim off the excess elastic. Finished! Bracelet 2
1) Cut a long piece of clear elastic. You want to make sure it is big enough so you can comfortably work with it. 2) Add red seed beads, then the pearl and the rest of red seed beads. 3) Grab both ends of the bracelet and make a double knot. I added one more knot to ensure that the bracelet would not unravel with use. 4) Add a dab of glue. This will prevent the knot from unraveling. 5) Trim off the excess elastic. Done! Bracelet 3
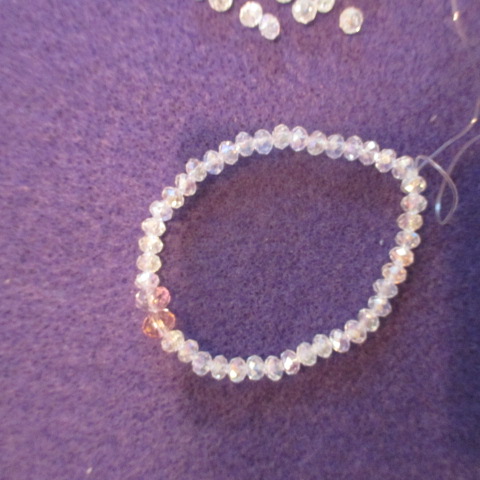
1) Cut a long piece of clear elastic. Make sure it is big enough so you can comfortably work with it. If it is too big you could always trim it off. 2) Add the for mm clear rondelles and then two larger pink rondelles. 3) Grab both ends of the bracelet and make a double knot. I added one more knot to ensure that the bracelet would not unravel later on. 4) Add a dab of glue. This will prevent the knot from unraveling. 5) Cut off the excess elastic. Simple bracelets like these make perfect gifts for little girls or women and they do not take too long to make.
See you next time!
0 Comments
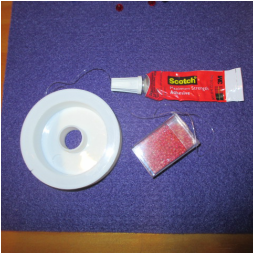
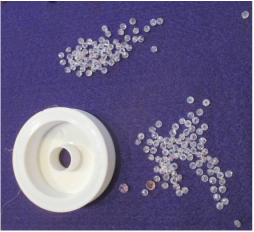
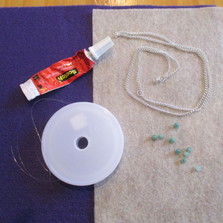
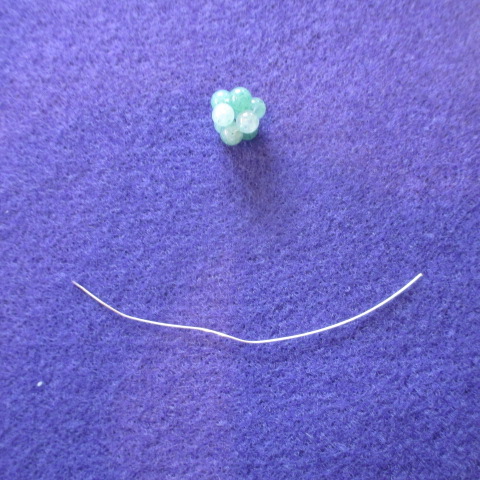
Hi everyone! Today I have a simple tutorial for you: a cluster pendant. You just need to know the very basics of beading to make it. Well, that and some materials:
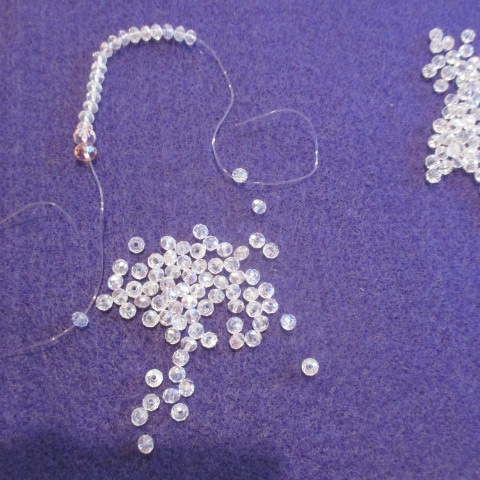
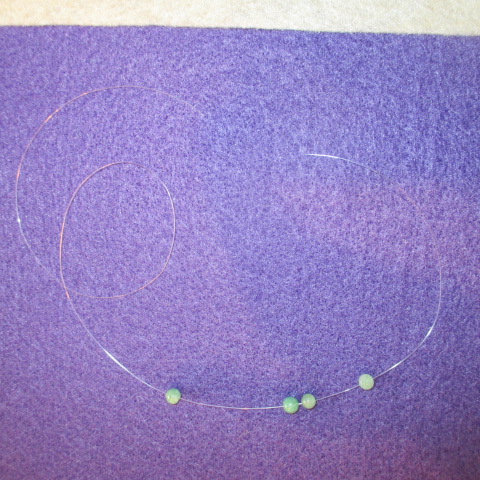
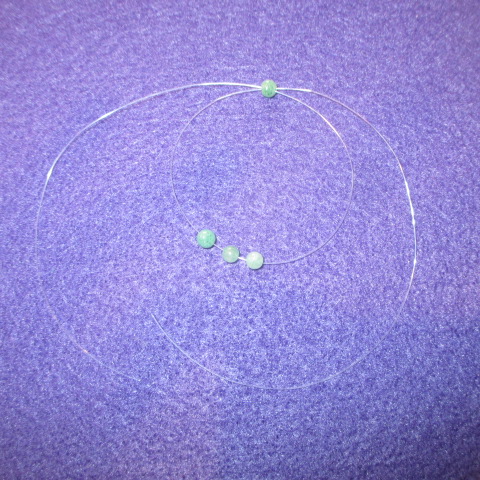
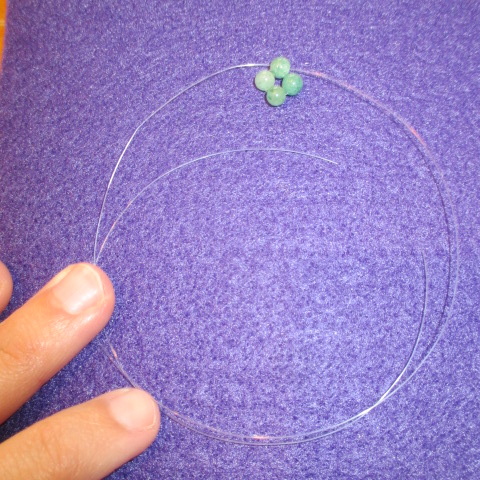
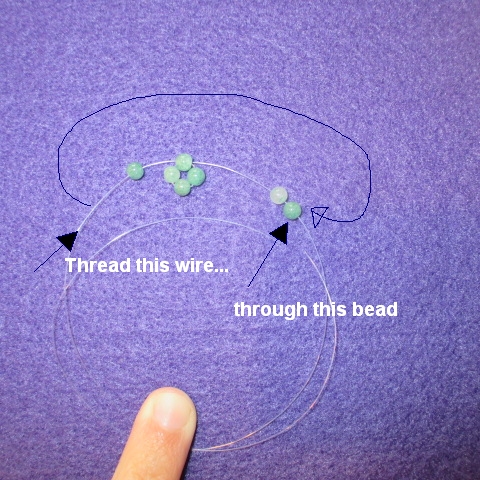
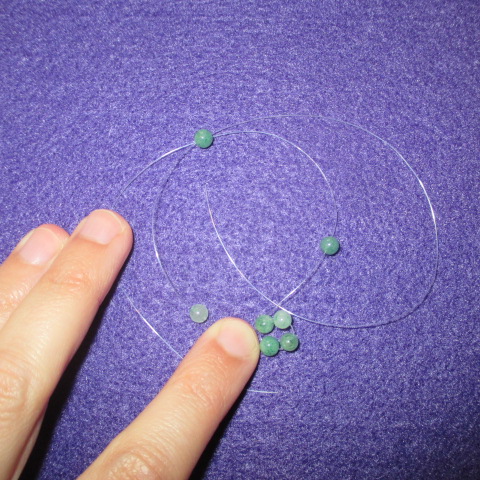
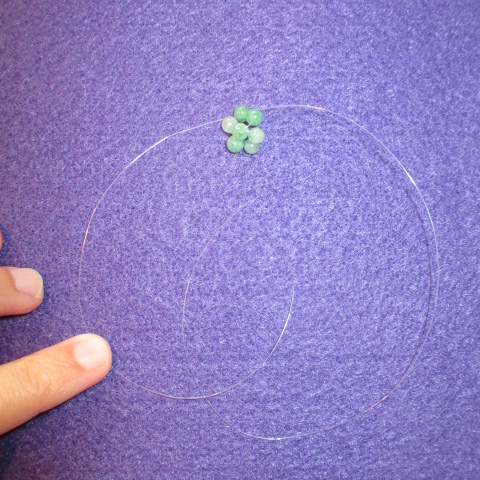
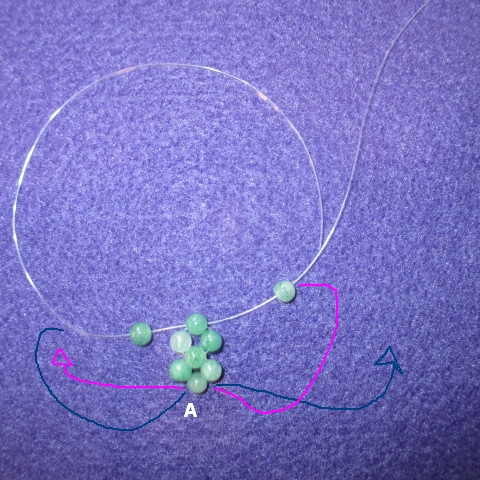
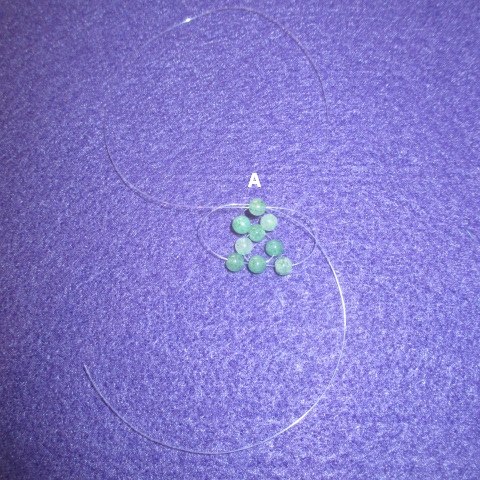
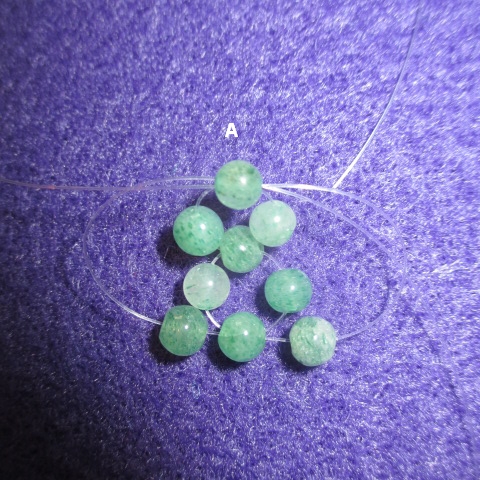
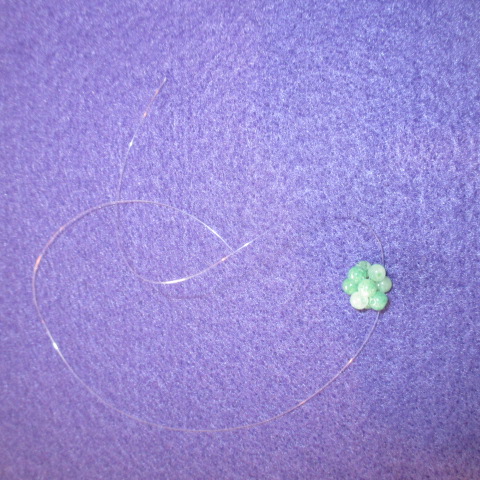
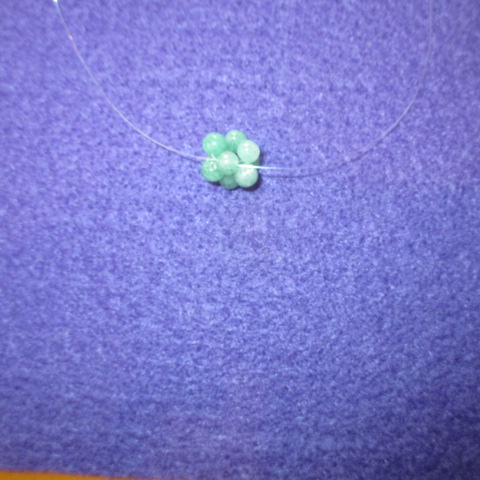
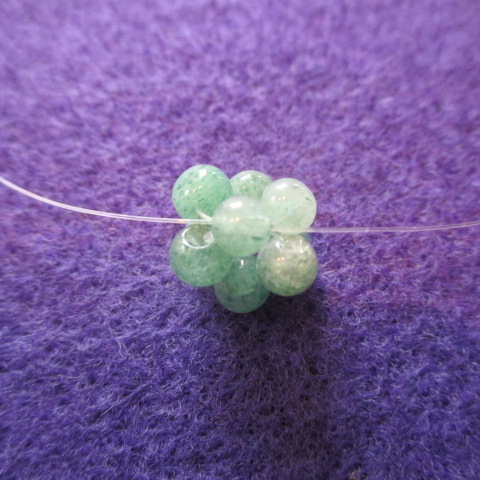
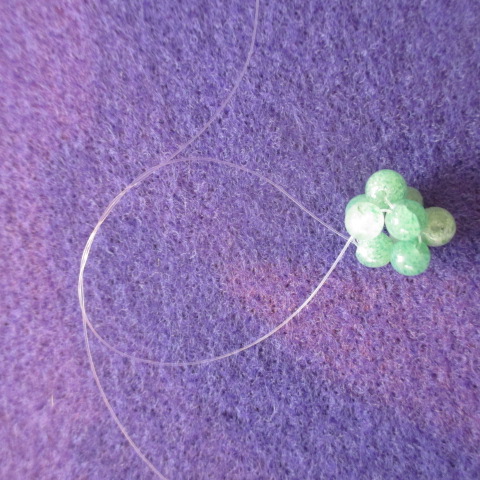
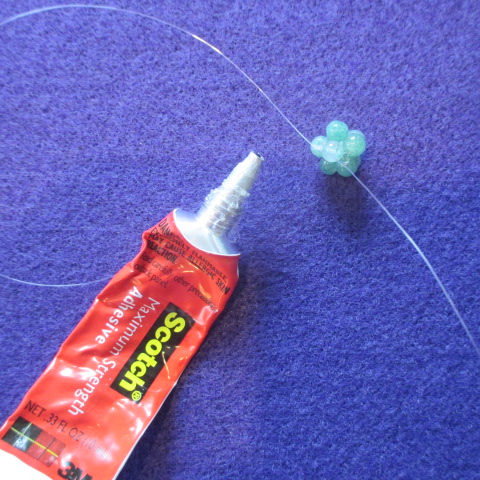
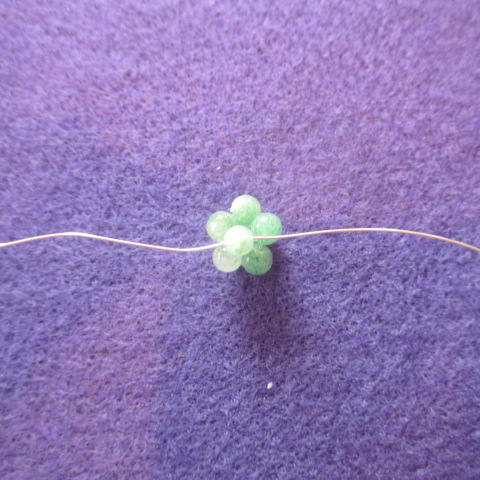
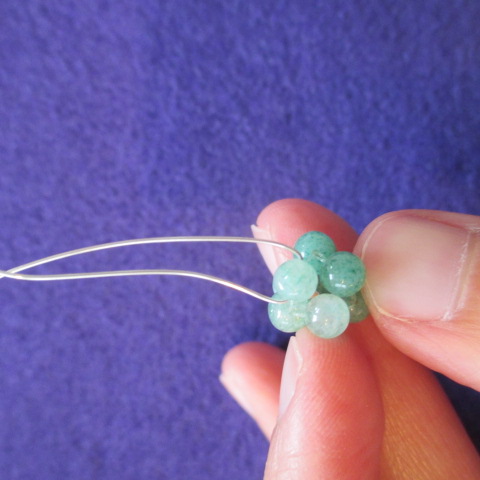
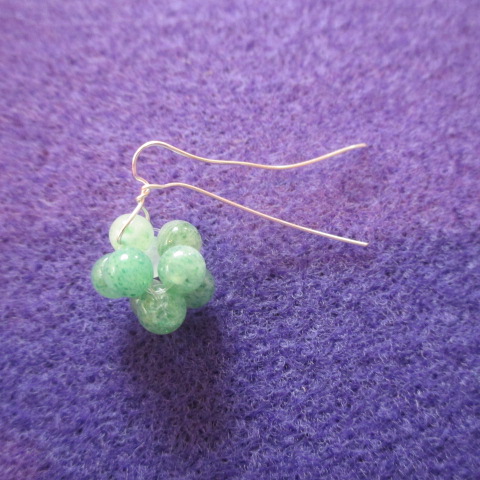
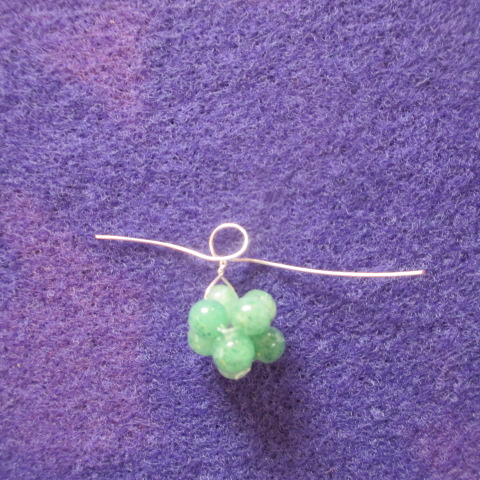
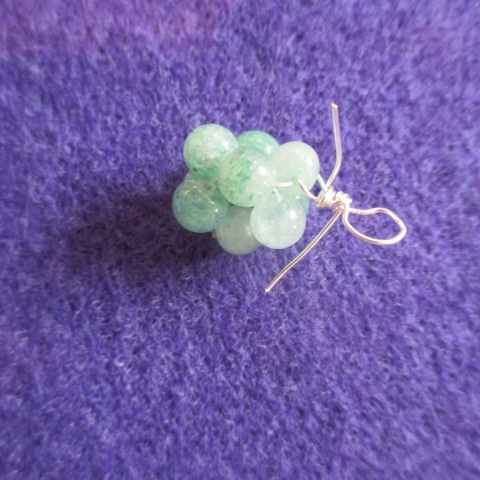
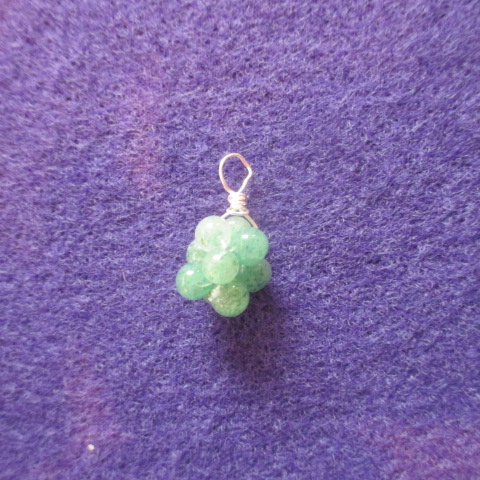
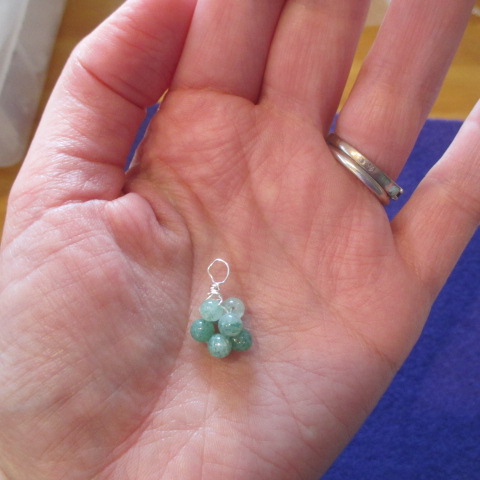
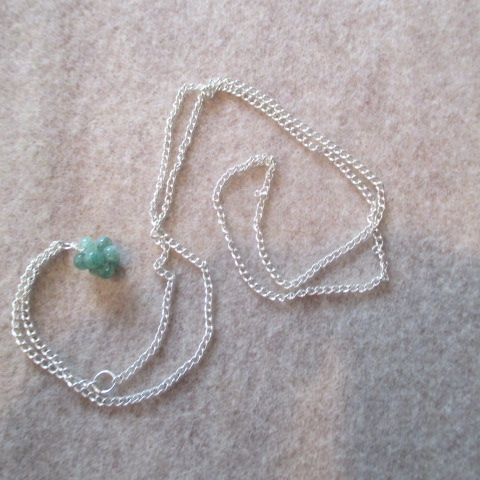
Let's get started! 1) Thread 4 beads. 2) Cross both ends of the through one of the outer beads, it does not matter which one. 3) Pull both ends tight and you will get the pattern showed on the right picture. 4) Add two beads on one side and one bead on the other. 5) Cross the wires through the last bead of the group of two you just added. It should look like the third picture below. 6) Pull the threads tight. You will get the pattern shown in the third picture. 7) Add one bead on each end of the wire. 8) Now we have to close the cluster. To do so, pick up both ends of the thread and cross them though the bead I called "A". 9) Pull both ends of the thread tight. Now you have a little cluster of beads! You should end up with something like this: 10) I ran the thread through some of the beads once more to ensure it would not fall apart and in order to be able to make double knots later. 11) Lastly, I made a couple of double knots. You can see how I crossed the wires. 12) Add a dab of glue on the knot. Wait until is dries. 13) Pick up a little piece of 28 gauge wire. 14) Feed it through any of the beads. 15) Bend both ends upwards. 16) Twist together both ends of the wire a couple of times. 17) Pick up your round nose-plier and grip one the ends of the wire. With one of your hands push the wire around the top barrel of your pliers. Now you have a loop. 18) Wrap the wire around the straight length of wire below your loop. 19) Cut off the excess wire and hide the ends the best you can. You could use a file to smooth out the ends. 20) To finish off, just attach the cluster to your favorite chain. 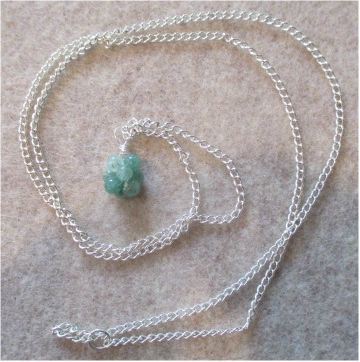 Jade cluster pendant What do you think? Did you find this tutorial easy to follow? I hope you did! It was so much fun to make. I think I am going to be making more of these using different materials and colors.
See you next time! |
AuthorHi! My name is Laura. Welcome to minigoyas! ArchivesCategories |

 RSS Feed
